I’ve worked with various documentation strategies over the years. From monstrous Word documents located somewhere in Sharepoint to confusingly configured Confluence wikis to scantily detailed text files (readme.txt anyone?). And then someone introduced me to markdown and I fell in love. ❤️
Markdown has simple syntax to cover most documentation needs and most importantly for someone in software, it can be version controlled. This blog is written in markdown (with my favourite editor Typora) as are all of my project and personal notes.
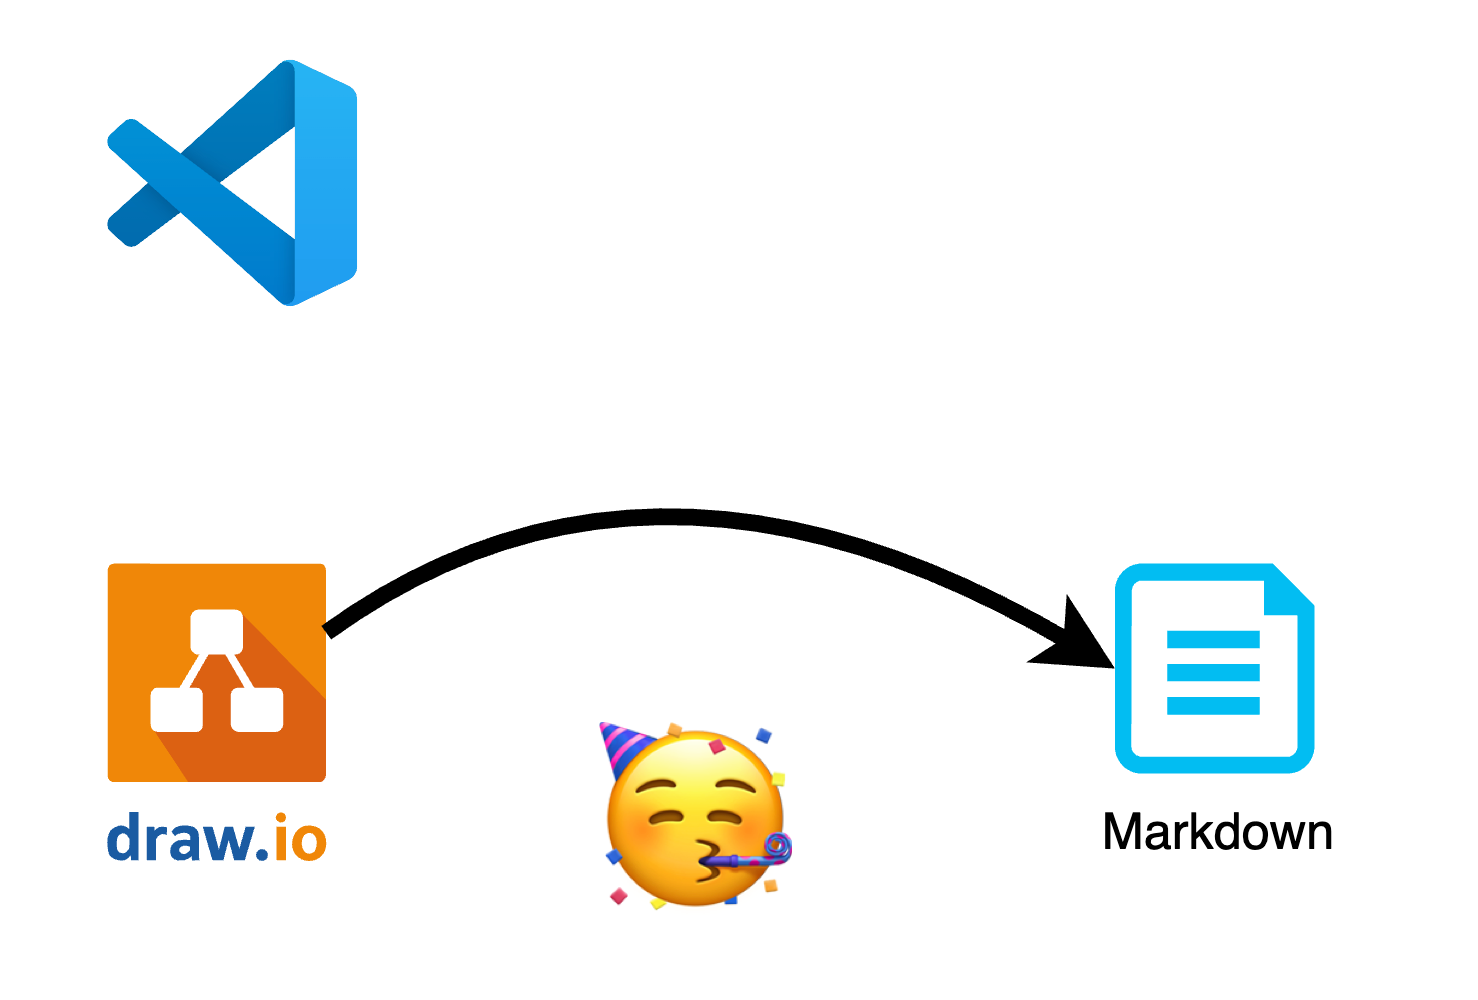
Another neat little tool that I use is draw.io (recently renamed to diagram.net). It’s a light drawing tool that I often use for high level architectures or even during screen shares to elaborate on an idea.
I use both draw.io and markdown in the context of my favourite IDE Visual Studio Code and I thought to share my setup. There’s also a nifty trick to combine the two which I’ll share near the end.
Setup
Everything is in the context of VS Code which can be installed from here.
Markdown
In VS Code create a new file README.md and add some text. A nice sample of what can be done with markdown can be copied from here
In VS Code, you can see the rendered markdown by selecting the preview button to the top right of your document
The preview will open on the right and will reflect any changes you make while editing.
Alternatively I recommend checking out Typora which is a great little editor (though may soon require a $15 license). One the niftiest features is that you can just paste images and Typora will automatically add them into an images folder.
draw.io/diagrams.net
draw.io can be used directly in a browser session and the resulting diagram exported to cloud storage or stored locally. There is also an offline version, shown here.
But I often prefer to add diagrams in the same place as my code and my markdown. To support this there is a nifty extension for VS Code created by Henning Dieterichs here.
With the extension one just needs to create a file with a drawio extension and the editing canvas appears.
Note, if you’re using dark mode in VS Code the canvas for draw.io will also appear dark which can be inconvenient for screen shares. To change this, head to Settings and search by “theme”. Under Extensions select “Draw.io Integration”. Change from “automatic” to another theme (I prefer “atlas”)
By our powers combined! ⚡️
For a long time, I’d make my diagrams in draw.io, screenshot them and then add them to markdown. But this is clumsy when one needs to change the diagram and I was looking for an alternative. After reading a post about exporting from another nifty tool tldraw to SVG I discovered something awesome: drawio files can be converted and edited as svg files.
Let me demonstrate:
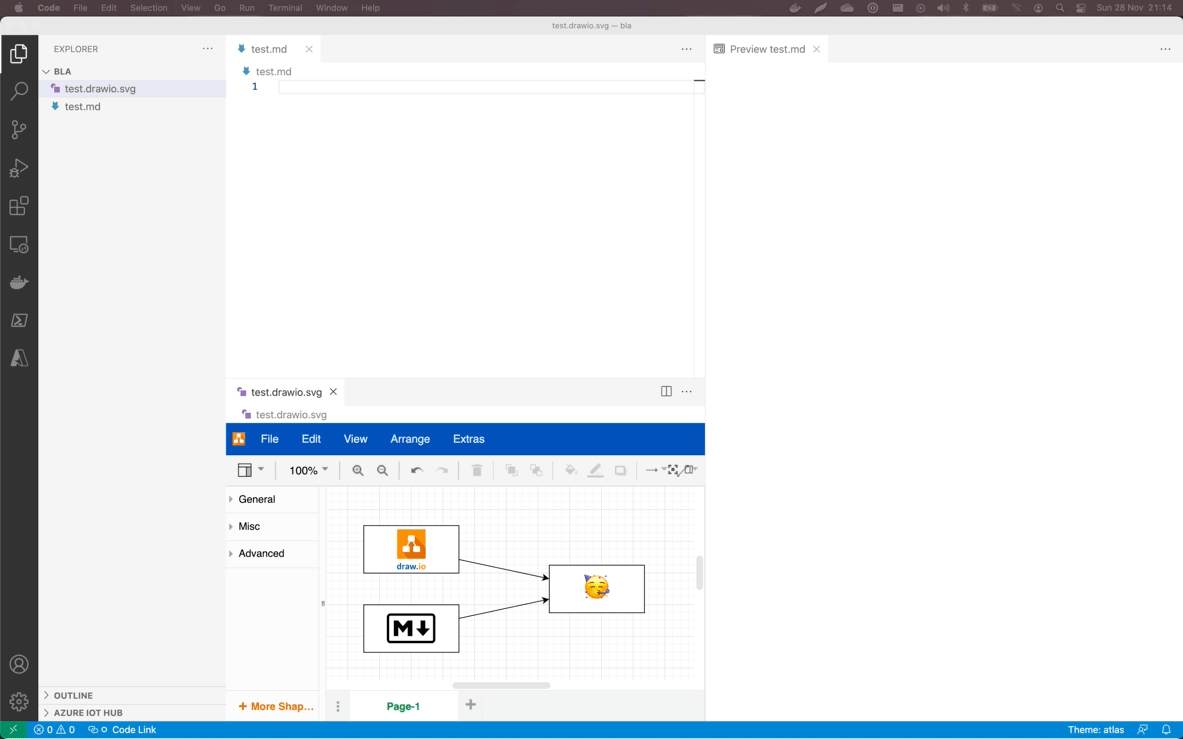
Create a file
test.drawio.svgin VS Code. The draw.io canvas should load for this fileAdd a diagram to this canvas, say two blocks joined by an arrow
Create a file
test.mdin the same folder and add the following text:
# Test embedding draw.io

And now with some scaling
<img src="test.drawio.svg" width="100%"/>
Open a preview (as detailed above under “Markdown”)
You should now see your diagram embedded in the file
And here’s a gif showing it in action:
Extra
- draw.io has a range of SVGs for the various cloud services though these can be a bit dated. If you want more up-to-date ones use the cloud draw.io or just download the SVG and drag-and-drop onto the canvas, e.g. Azure icons from here
- it’s also possible to paste images which draw.io converts to base64
- not everything renders perfectly in markdown
- a more complex embedding can be seen here: https://github.com/pugillum/blog_drawio_markdown